
10 DIY Herb Drying Rack Ideas That Will Transform Your Kitchen (You Won’t Believe #4!)
If you’ve ever wanted to elevate your kitchen’s style while making the most out of your fresh herbs, you’re in for a treat.
DIY herb drying racks are not only functional but can also add a touch of rustic charm to your kitchen decor.
Imagine the delightful scents wafting through your space while you preserve those garden-fresh herbs for future culinary masterpieces! We’ve gathered ten creative and space-saving ideas that will inspire you to craft your very own herb drying rack. From hanging solutions to chic wall displays, each idea is designed to blend aesthetics with practicality. Get ready to transform your kitchen into a fragrant herb haven!
1. Vintage Ladder Rack
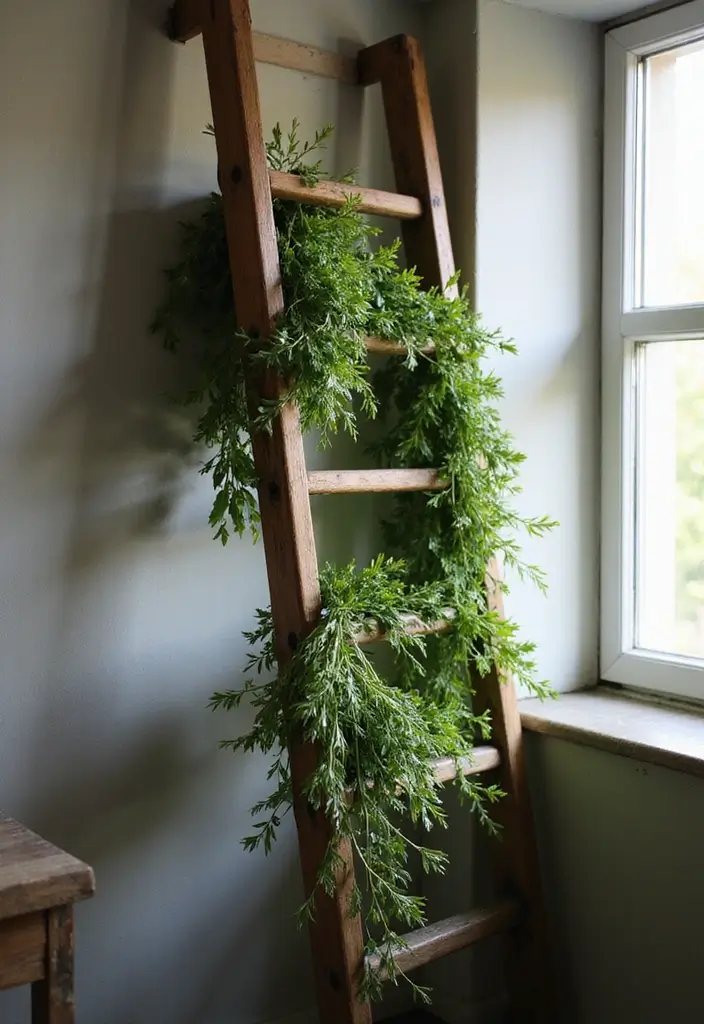
Bring a touch of nostalgia to your kitchen with a vintage ladder rack! This charming piece can be both decorative and functional, making it perfect for drying herbs. Simply lean an old wooden ladder against a wall and hang your herbs in bundles from each rung.
To create your vintage ladder rack, consider using a wooden ladder shelf, which adds warmth and character to your space. You can also paint it to match your kitchen’s color scheme. Opt for herbs like rosemary and thyme that hang well, and don’t forget to string up some fairy string lights for an enchanting touch at night!
Here are a few tips for creating your vintage ladder rack:
– Use twine for herb bundling to tie herb bundles securely.
– Ensure the ladder is stable before hanging any herbs.
– Position it near a window for optimal airflow and light exposure.
This setup not only saves space but creates a stunning focal point in your kitchen!
Embrace the beauty of nostalgia! A vintage ladder rack not only adds character to your kitchen but also serves as a stunning display for your favorite herbs. Let your creativity flow and turn practicality into art!
2. Wall-Mounted Clothespin Rack
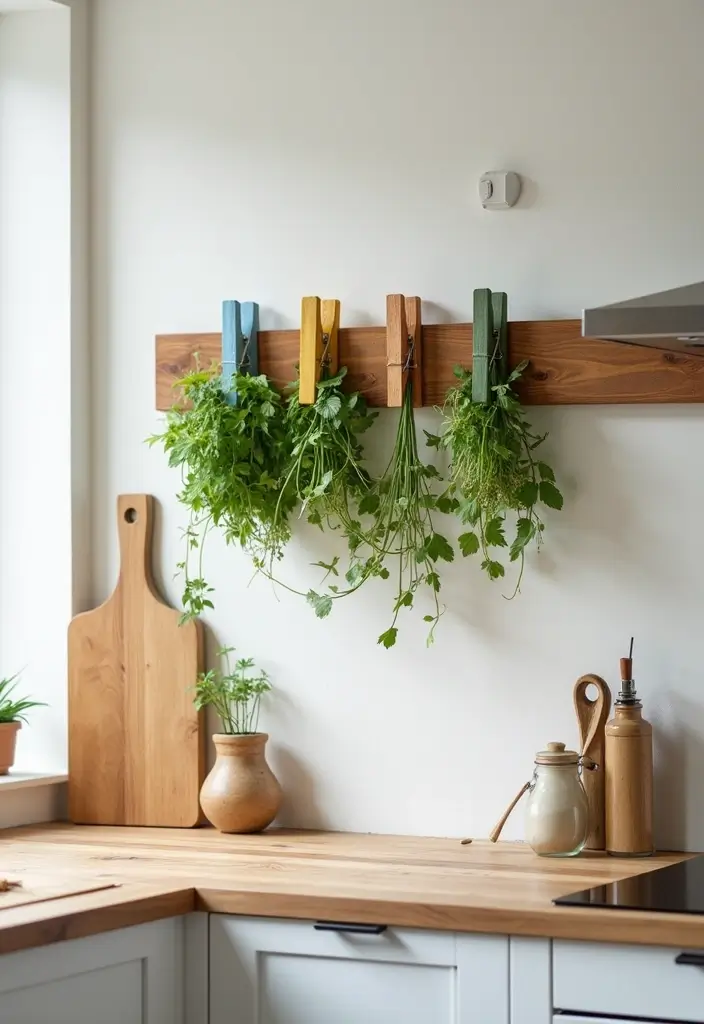
For a unique and modern take on herb drying, consider a wall-mounted clothespin rack. This idea is as simple as it is stylish! Attach several clothespins to a sturdy wooden plank, like the 5 pack medium wood country planks, and mount it on your kitchen wall. This product is great for crafting because it’s unfinished, allowing you to customize it to fit your kitchen decor.
You can clip fresh herbs directly onto the clothespins for easy drying. The beauty of this design is that it’s incredibly customizable; you can stain the wood using a product like Varathane premium fast dry wood stain in dark walnut to add a touch of elegance to your decor. Plus, it’s an excellent way to showcase herbs like basil, mint, and dill. Here are some useful tips to create your clothespin rack:
– Use a sturdy plank, like the one mentioned, ensuring it can hold the weight of wet herbs.
– Install the rack at eye level for easy access.
– When the herbs are fully dried, switch out the dried bunches for fresh ones to keep the display vibrant.
This space-saving rack is practical while adding a fun twist to your herb gardening experience. If you want to further maximize functionality, consider adding the SONGMICS wall-mounted drying rack, which features several staggered hanging rods for even more drying options.
3. Hanging Mesh Drying Bags
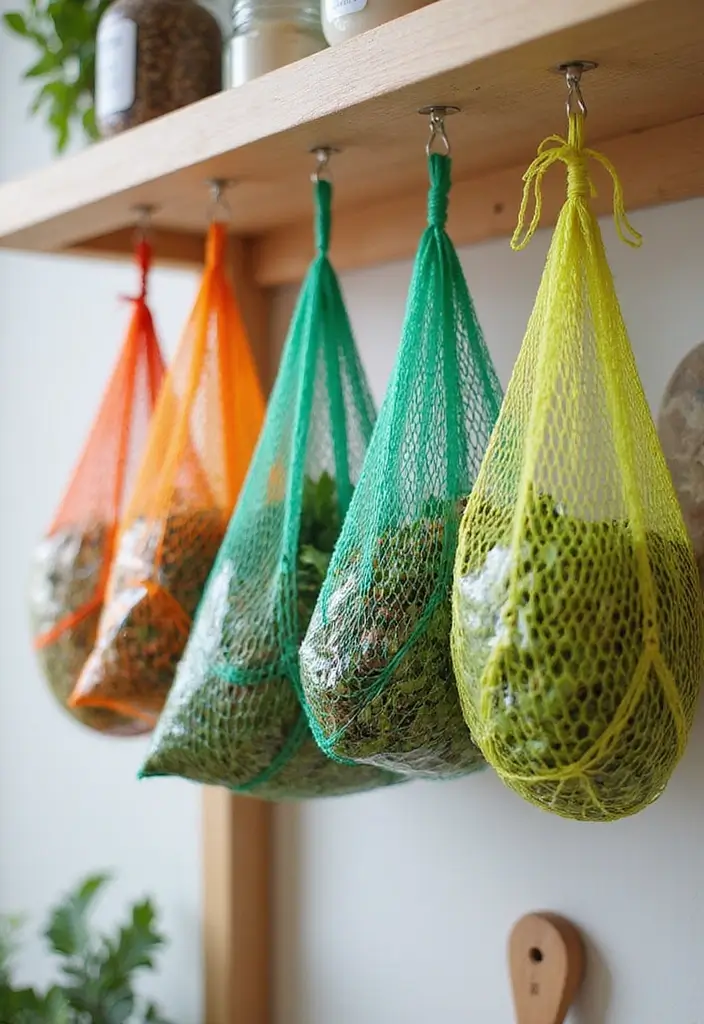
If you’re looking for a practical and space-saving solution, hanging mesh drying bags are the way to go! These bags allow air to circulate freely, making them perfect for drying delicate herbs like chamomile or parsley. You can find these bags in various sizes, such as the Hanging Mesh Drying Bags, which are great for this purpose. They can be hung from hooks in your kitchen ceiling or a shelf, helping you save counter space while keeping everything neat and organized.
When arranging your herbs, consider grouping similar varieties together for a beautiful display. Here are some insights on using hanging mesh bags effectively:
– Ensure the herbs are clean and dry before placing them in the bags to prevent mold.
– Hang them in a well-ventilated area free from direct sunlight.
– Label the bags for easy identification, and you can use herb labels to accomplish this.
To hang your drying bags securely, consider using ceiling hooks. This is a fantastic way to maximize vertical space in your kitchen while keeping your herbs safe and secure.
4. Pegboard Herb Rack
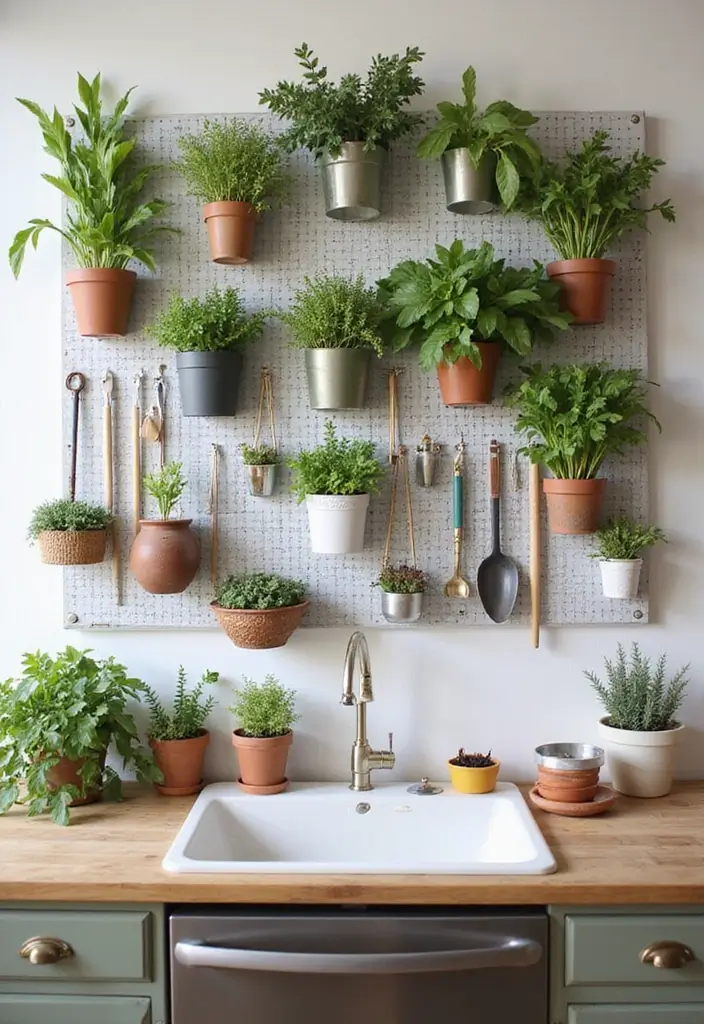
Here’s the showstopper! A pegboard herb rack is both trendy and versatile. You can customize it to fit your space perfectly and create an artsy display that will wow your guests. The pegboard can be mounted on a wall, and you can hang herb bundles, scissors, and even pots for a complete herb station.
To get started, consider using a pegboard wall organizer kit which includes everything you need to set up your herb drying rack, including sturdy hooks and additional accessories. This option is incredibly practical, allowing you to rearrange your herbs easily. Plus, it gives you the freedom to paint or decorate the pegboard to fit your style. A great choice for this would be the decorative paint for pegboard, which comes in a variety of beautiful colors to match your kitchen aesthetic.
When setting up your pegboard, remember to use sturdy hooks, like the sturdy hooks for pegboard, to support the weight of wet herbs. It’s also essential to ensure the pegboard is securely attached to the wall for safety. Finally, you can create a color-coded system based on herb types or their uses in cooking, making organization both functional and visually appealing.
This pegboard will not only organize your herbs but will also be a conversation starter in your kitchen!
5. Mason Jar Herb Display
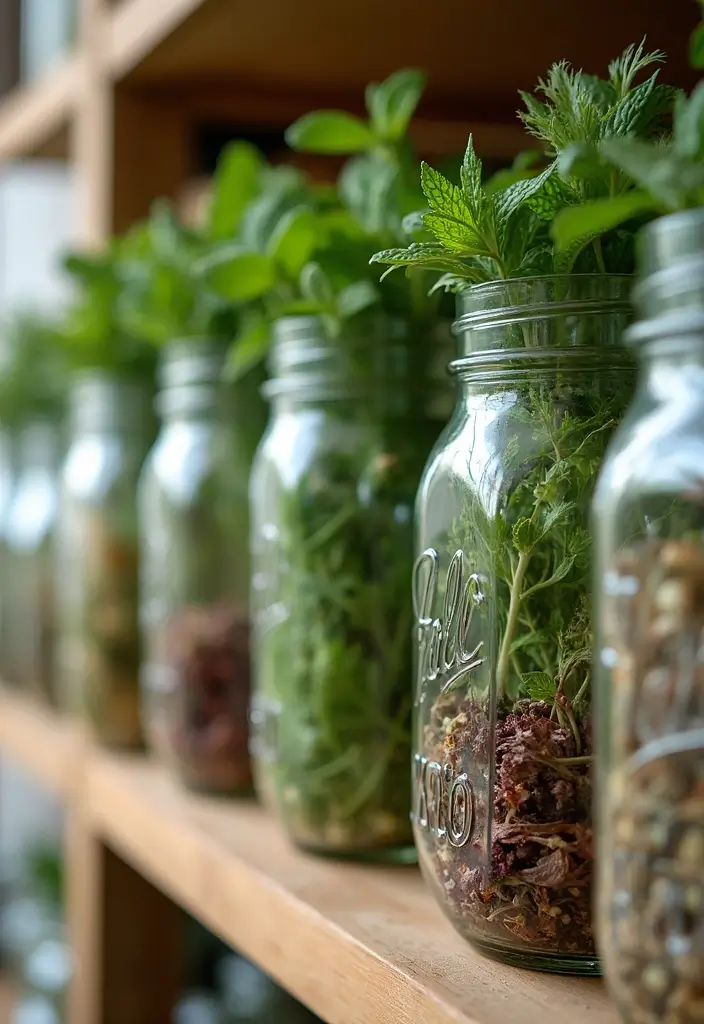
Mason jars are a classic choice for herb drying, giving a rustic touch to your kitchen. Fill the jars with dried herbs and display them on a shelf or countertop for an aesthetic appeal. This method also keeps your herbs fresher for longer, as they’re sealed away from moisture.
You can use clear jars for a simple look or label them with cute tags for added personality. To get started, consider the mason jars set, which includes six 16 oz. Regular-mouth glass jars with metal airtight lids. The wide mouths make it easy to fill and access your herbs.
When you’re ready to dry your herbs, simply hang them upside down in the jar until they’re fully dried. Here are some tips for using mason jars effectively:
– Store jars away from direct sunlight to maintain herb potency.
– Consider using different jar sizes for visual interest.
– Add personality with herb labels. This 24-piece set includes waterproof tags that can help you keep track of your various herbs, bringing a neat touch to your display.
Not only do these jars serve a practical purpose, but they also enhance your kitchen’s decor charm. If you’re looking to dry herbs in bulk, a herb drying rack might be the perfect addition. This two-tier rack, complete with brown gift tags and natural jute twine, allows you to dry multiple herbs simultaneously while keeping your kitchen organized and stylish.
With these tools, you’ll not only store your herbs effectively but also create a charming display that elevates your kitchen’s ambiance.
6. Rustic Wooden Crate

Turn an old wooden crate into a gorgeous herb drying rack with minimal effort! Simply slant the crate against a kitchen wall or place it on a countertop. You can hang herbs from the slats or place small pots of herbs inside. The rustic appeal adds a homey vibe, and it can also act as a decorative piece.
To maximize your crate’s potential, consider these tips:
– Use herb drying twine to hang herbs from the side of the crate, allowing you to create a beautiful display.
– Choose a crate, like the wooden crate, that’s the right size for your kitchen space to avoid overcrowding.
– Paint or stain the crate if you want to add a pop of color.
Additionally, consider using wall hooks to hang your herb bundles for convenient access and added organization.
This idea combines function and style, making your kitchen feel cozy while keeping your herbs organized.
Transforming an old wooden crate into a stunning herb drying rack not only maximizes your kitchen space but adds a charming rustic touch. Hang herbs with twine, and let nature’s beauty shine in your home!
7. Repurposed Window Frame Rack
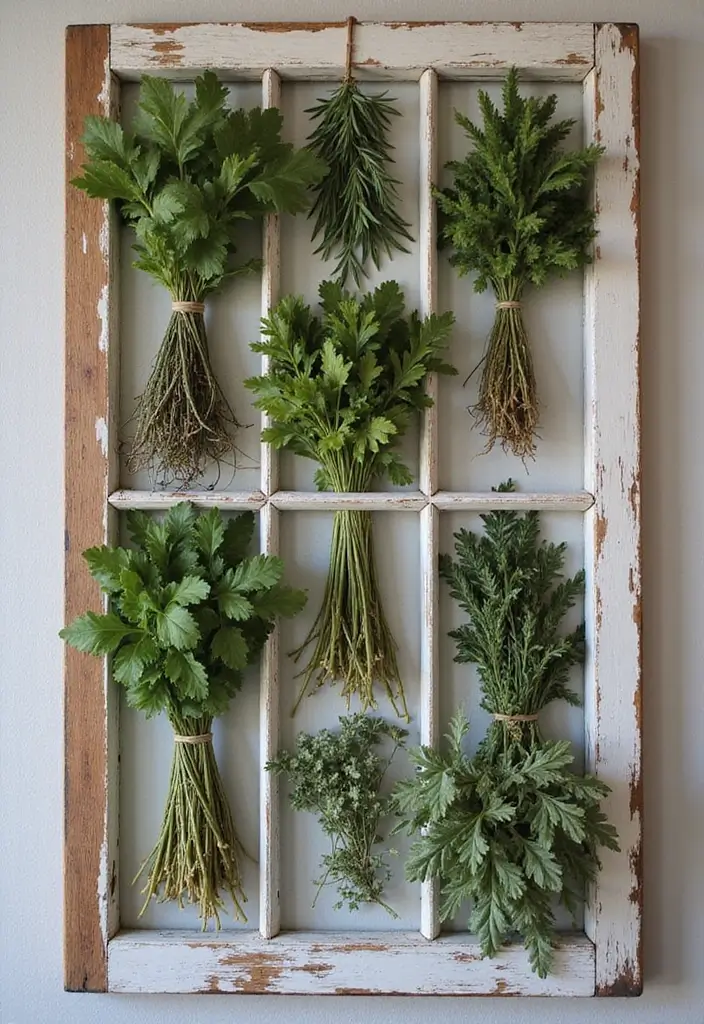
Give a new life to an old window frame by transforming it into a charming herb drying rack. Start by removing the glass panes and then hang your herbs from the frame using either twine or clips. For the twine, consider using PerkHomy natural jute twine, which is perfect for securely suspending your herbs while adding a rustic touch to your decor. This project not only adds character to your kitchen but also utilizes vertical space beautifully.
To ensure a smooth finish and avoid any rough edges on the frame, grab a sanding block for wood finishing. This product comes in various grits, making it easy to customize the frame’s surface to your liking.
If you prefer using clips for hanging your herbs, then 2Pcs clothes drying hanger with clips is an excellent choice. These stainless steel clips are windproof and designed to securely hold small items, ensuring your herbs stay in place as they dry.
This DIY project is not only a fun way to recycle but also allows you to create something visually stunning for your kitchen. Hang your transformed frame in a spot where it can catch a breeze for effective drying and enjoy your newly crafted herb drying rack!
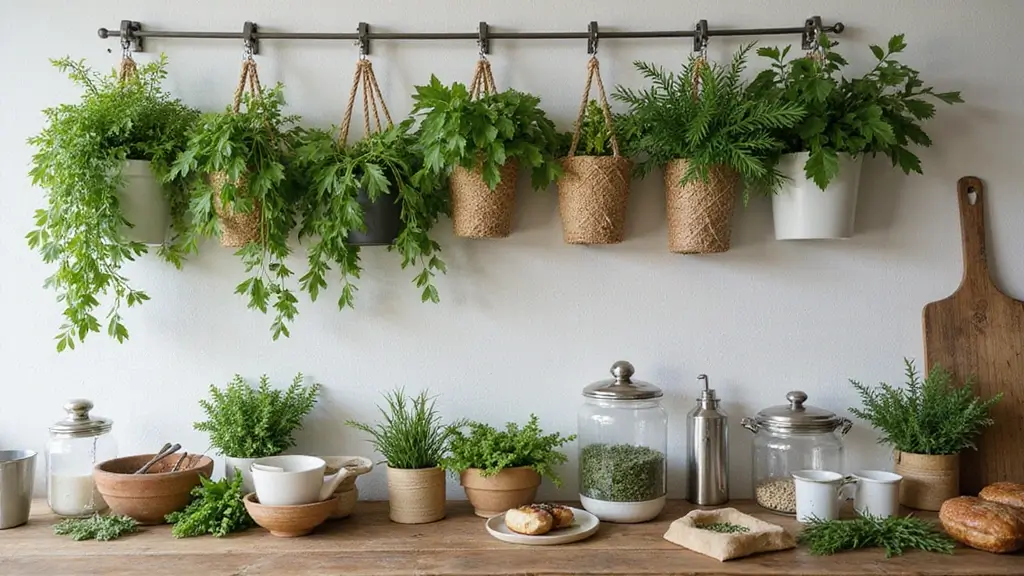
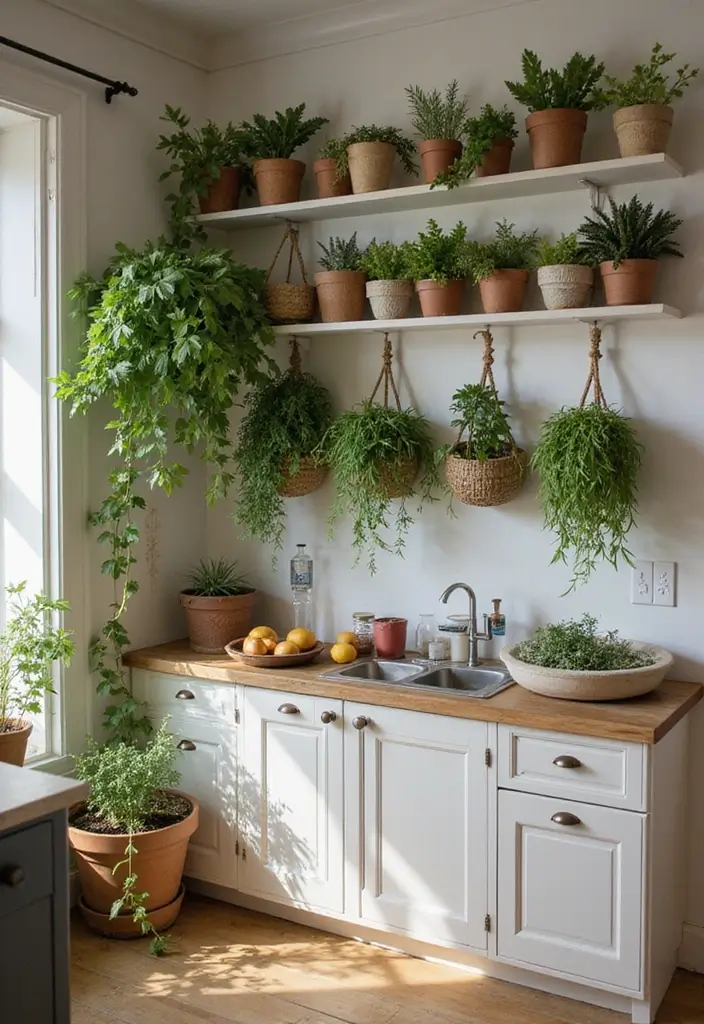
8. Hanging Pot Rack
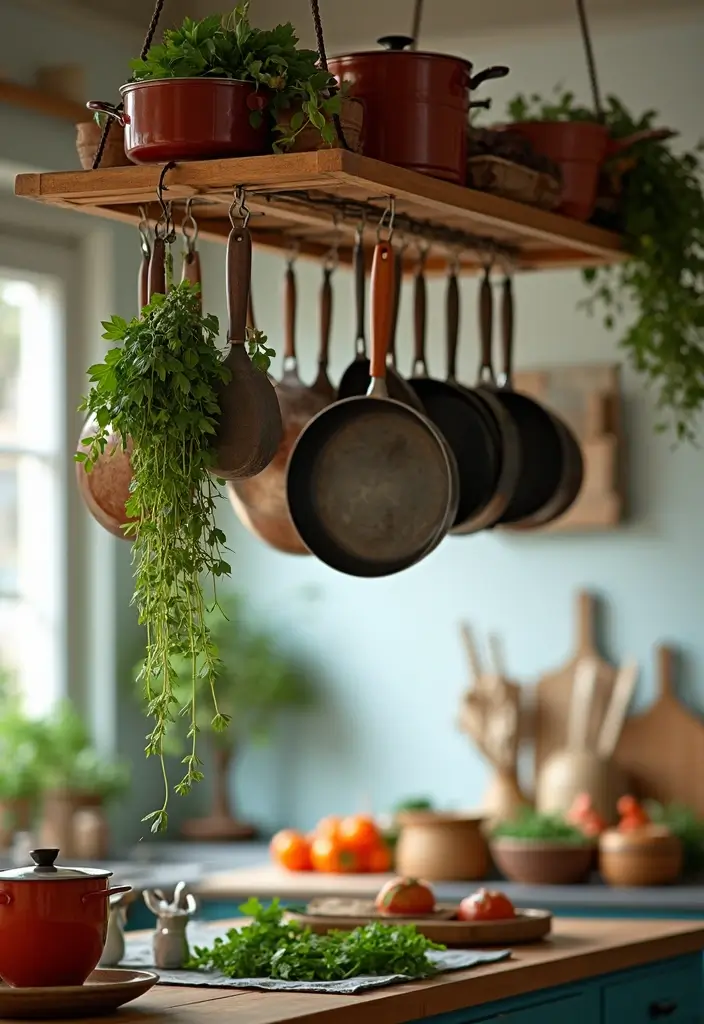
Combine form and function with a hanging pot rack that doubles as a herb drying space. Install a rack above your kitchen island or table, and use it to hang herbs alongside your pots and pans. The hanging pot rack not only provides a stylish way to store your cookware but also serves as an ideal spot for drying herbs, keeping them close at hand while you cook.
Maximize your space and functionality with these tips:
– Use sturdy hooks for hanging that can hold the weight of both pots and herbs securely. They’ll ensure that your herbs dry properly without risk of falling.
– Arrange the herbs based on frequency of use for easy access; this will make your cooking experience even more enjoyable and efficient.
– Ensure there’s enough clearance from the cooking area to avoid any hazards; it’s important to maintain a safe workspace.
This setup not only saves space but also makes your kitchen feel busy and alive! You can also consider using a herb drying rack for an organized and dedicated drying solution that complements the hanging pot rack beautifully.
Transform your kitchen with a hanging pot rack! It’s not just for pots; it’s a herb drying haven that keeps your favorites within reach while adding charm to your space.
9. DIY Wall Shelf with Spice Jars
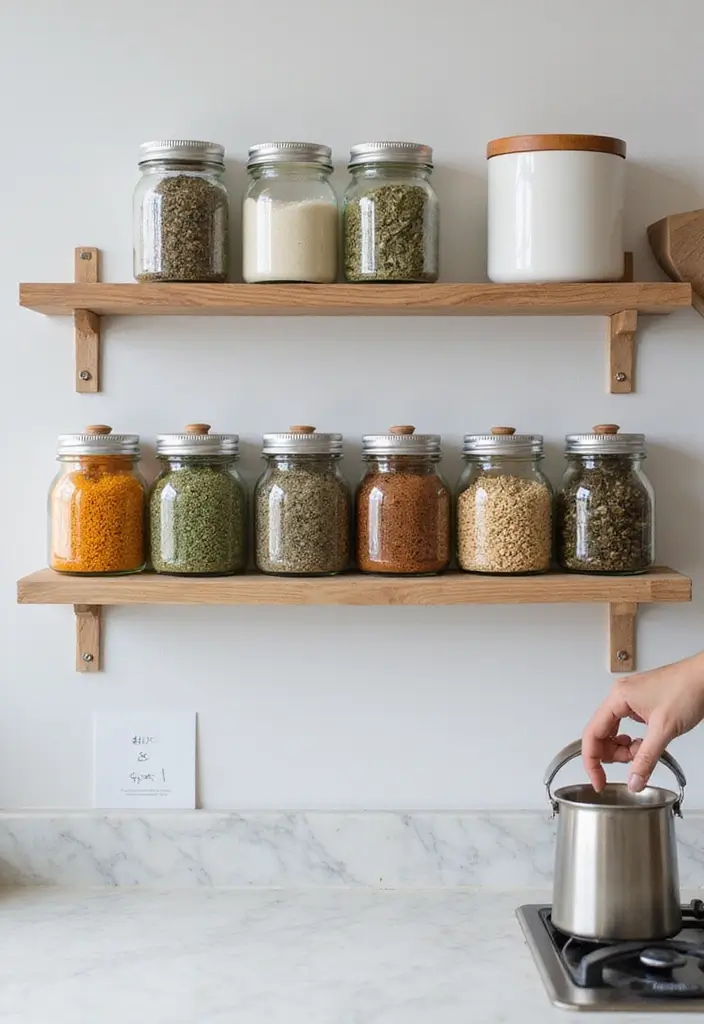
Build a simple wall shelf equipped with spice jars to store both fresh and dried herbs. This shelf can be designed to match your kitchen’s decor, providing a neat and tidy look. Each jar can hold different herb varieties, and you can easily access them when cooking.
To create this shelf, follow these tips:
– Choose jars that are airtight, like these airtight glass spice jars, to preserve flavor.
– Use a mix of clear and colored jars for visual dynamism.
– Install the shelf at a comfortable height for easy access. You can use wall shelf brackets to ensure sturdy support for your shelf.
– Consider adding a touch of style with a wooden wall shelf that complements your kitchen’s theme.
This solution combines aesthetics with practicality, ensuring your herbs are always within reach for those impromptu cooking sessions.
10. Freestanding Herb Drying Rack
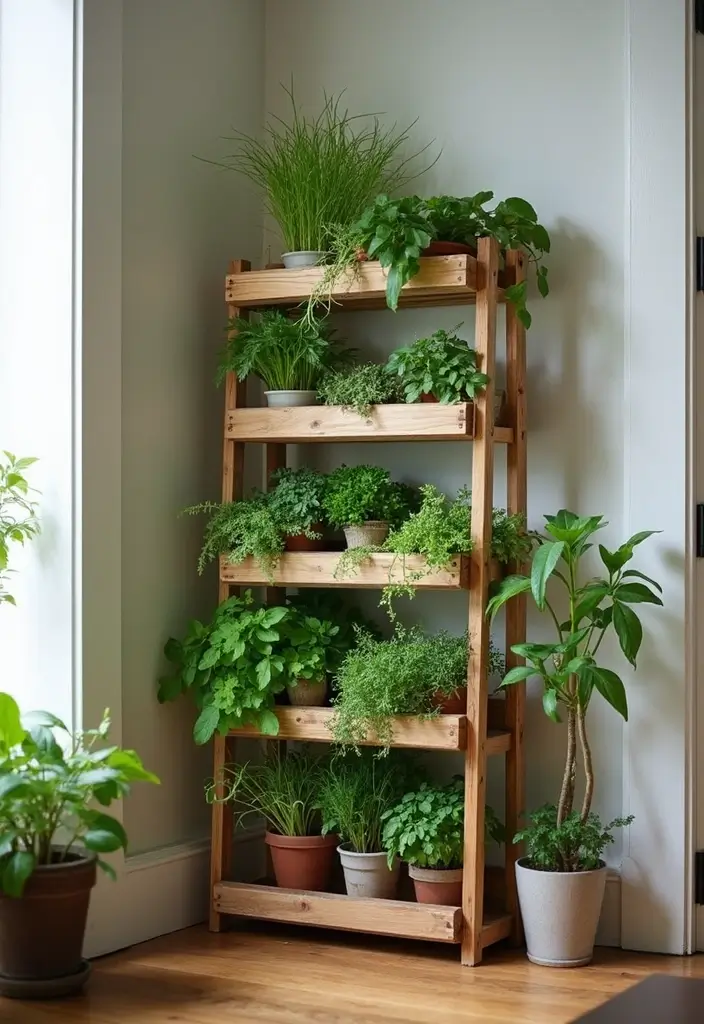
For a dedicated herb drying solution, a freestanding rack is an ideal choice. This type of rack comes with multiple levels, allowing you to dry large quantities of herbs at once. You can place it in a corner of your kitchen or even outside if the weather permits.
These racks are typically made of wood or metal, providing durability along with a chic appearance. A great option to consider is the Cedilis set of 2 stackable wood pasta herb drying rack, which not only offers ample space for your herbs but also features a food dryer stand with a net, making it versatile for drying seeds and other items as well.
When using a freestanding rack, consider:
– Placing it in a well-ventilated area to speed up the drying process.
– Grouping herbs by drying times to manage your harvest efficiently.
– Decorating the rack with small pots alongside your dried herbs for added flair.
Additionally, you might find the herb drying clips helpful. With 16 clips, they are perfect for securely hanging herbs, ensuring they dry evenly in the breeze.
This option is perfect for herb enthusiasts who want a dedicated space to dry and display their favorite varieties while elevating the functionality of their kitchen!
Unlock the full flavor potential of your herbs! A freestanding herb drying rack not only maximizes space but also makes your kitchen a fragrant haven. Elevate your culinary creations with home-dried herbs!
Conclusion
Creating a DIY herb drying rack can be both a fun project and a great way to enhance your kitchen’s look and functionality.
With so many unique ideas to choose from, there’s something for everyone, no matter your style or space constraints. Whether you go for a vintage ladder or a modern pegboard, each option brings a touch of nature indoors.
Which drying rack will you create? Share your ideas and experiences; let’s inspire each other on this herb gardening journey!
Note: We aim to provide accurate product links, but some may occasionally expire or become unavailable. If this happens, please search directly on Amazon for the product or a suitable alternative.
This post contains Amazon affiliate links, meaning I may earn a small commission if you purchase through my links, at no extra cost to you.
Frequently Asked Questions
What materials do I need to create a DIY herb drying rack?
Creating a DIY herb drying rack can be a fun and rewarding project! Depending on the design you choose, materials can vary. For a simple rack, you might need wooden planks, clothespins, or mesh bags. If you’re going for a pegboard rack, ensure you have a pegboard, hooks, and possibly some paint for a personal touch. Always consider using recycled materials to make your project eco-friendly!
How do I properly dry herbs using a drying rack?
Drying herbs is easy once you have a rack set up! Start by washing your herbs and patting them dry. Then, hang them upside down or lay them flat on your drying rack, allowing air to circulate. Make sure they are spaced out to avoid mold. Depending on the humidity, herbs typically take about 1-3 weeks to fully dry. Once dry, store them in airtight jars for long-lasting flavor!
What are the space-saving options for herb drying racks?
If you’re short on space, consider options like hanging mesh drying bags or a wall-mounted clothespin rack. These designs allow you to utilize vertical space effectively without taking up valuable counter space. A pegboard herb rack can also double as a decorative piece while offering a compact solution for drying herbs in your kitchen!
Can I use a DIY herb drying rack for other plants or flowers?
Absolutely! While herb drying racks are perfect for herbs, they can also be used to dry flowers and other plants. Just make sure the plants are well-suited for drying, as some may require different conditions. For example, delicate flowers may need to be dried in a more shaded area to maintain their color and shape. Get creative with your drying rack!
How can I enhance the aesthetics of my herb drying rack?
Enhancing the aesthetics of your herb drying rack can be a fun project! Consider using stain or paint to match your kitchen decor. You can also add decorative elements like ribbons or twine to hang your herbs. Using vintage or rustic materials can create a charming farmhouse vibe, while modern designs can add a sleek touch to contemporary kitchens!


